Control Room
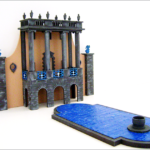
So you’re an Evil Mastermind… You have your power chair, some phones to make urgent calls for take outs.A control console that helps you run the world and maintain your growing Empire… but just hang on a second… it’s quite chilly and a bit open plan… it’s more like a call centre than the Fuhrer Bunker! What you need are some walls and an impressive doorway to intimidate your minions and a your very own view screen to skype Kimmy and Donald at weekends. The Village Control Room has it all
Step by step build walk through here (4mb PDF).
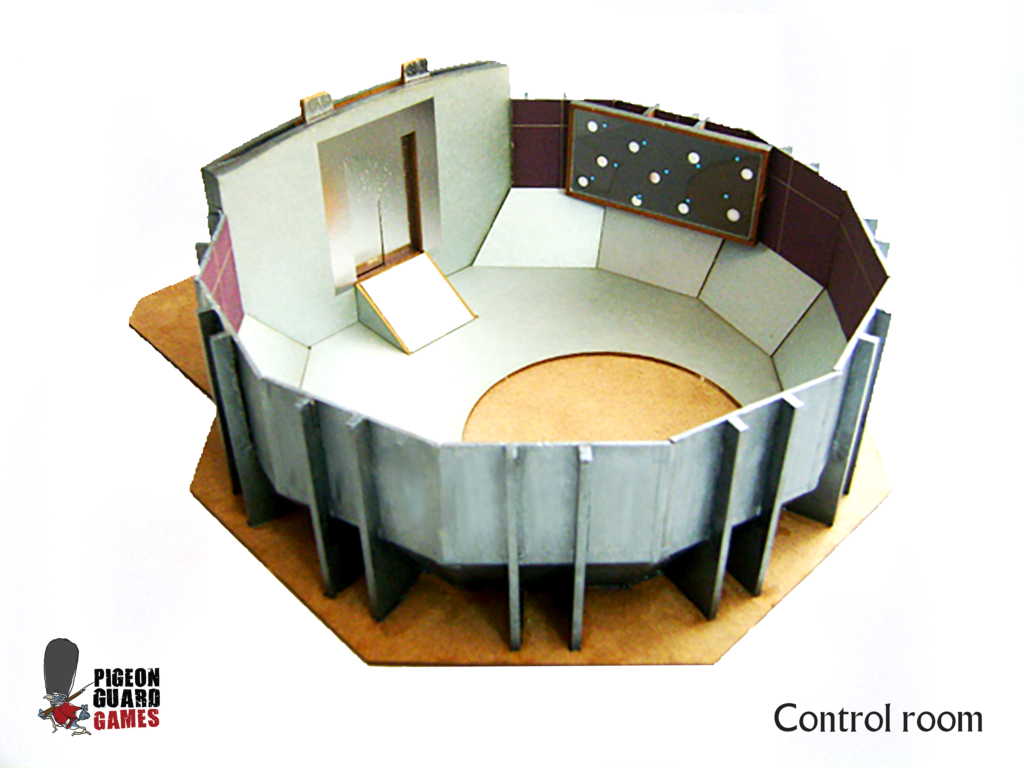
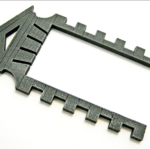
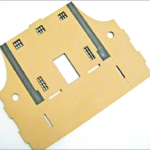
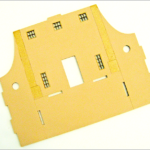
Features includePre coloured internal walls, floor and doors and door frame.Foiled doorway (both sides) Doors open and close using tabs. Acrylic view screen.
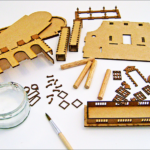
Multi media kit which includes Printed Card, MDF, Acrylic
Instructions are included
Look out for our next release will be the external walls and roof (Dome!) to fit over the Control Room Model.
This Kit is a companion kit to our Control Centre Equipment model which fits perfectly into the floor space provided.
Control Centre Equipment
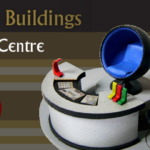
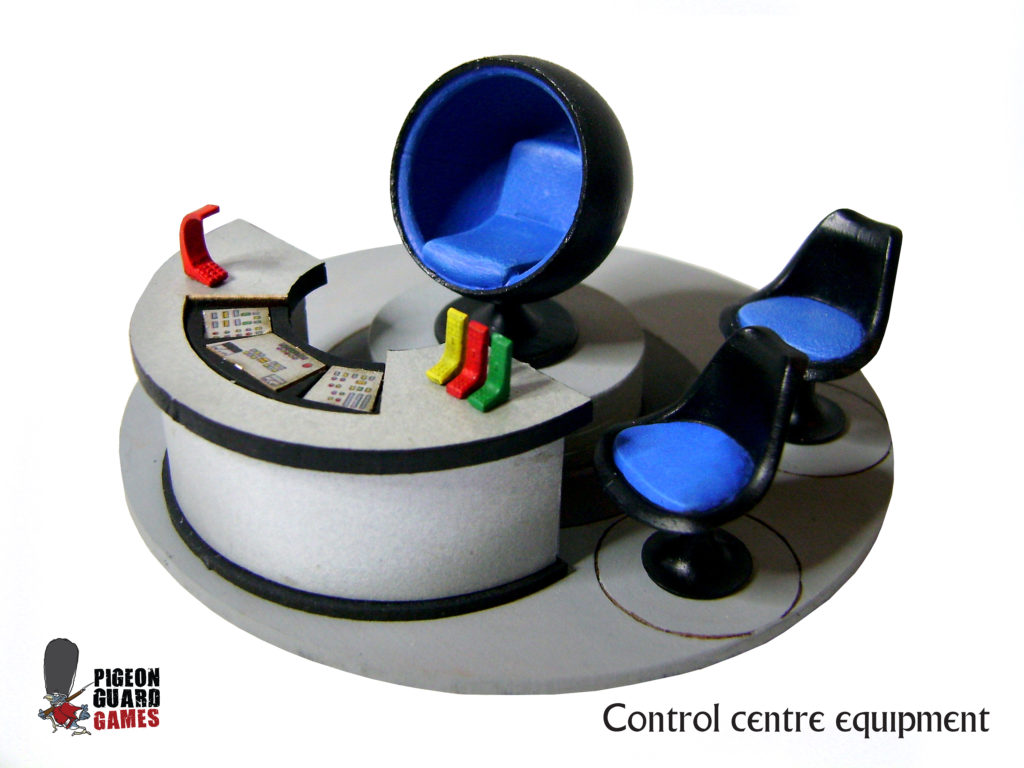
Super villains have big egos, and for that you need a big chair. To manage a huge evil empire you also need a high tech control console. Luckily this set has both, it also has somewhere for the minions to sit.

This mixed media kit will allow you to make an operations centre for your spy- fi layout. The console itself requires very little painting and has various printed sections including the control surfaces like switches, buttons and lights. The resin Globe chair can be positioned at various height levels using the plinths supplied, right up to maximum intimidation level!
An mdf base and two resin Tulip chairs are also provided.
Control Centre Equipment £11.99
Telephone Kiosk
Telephone Kiosk
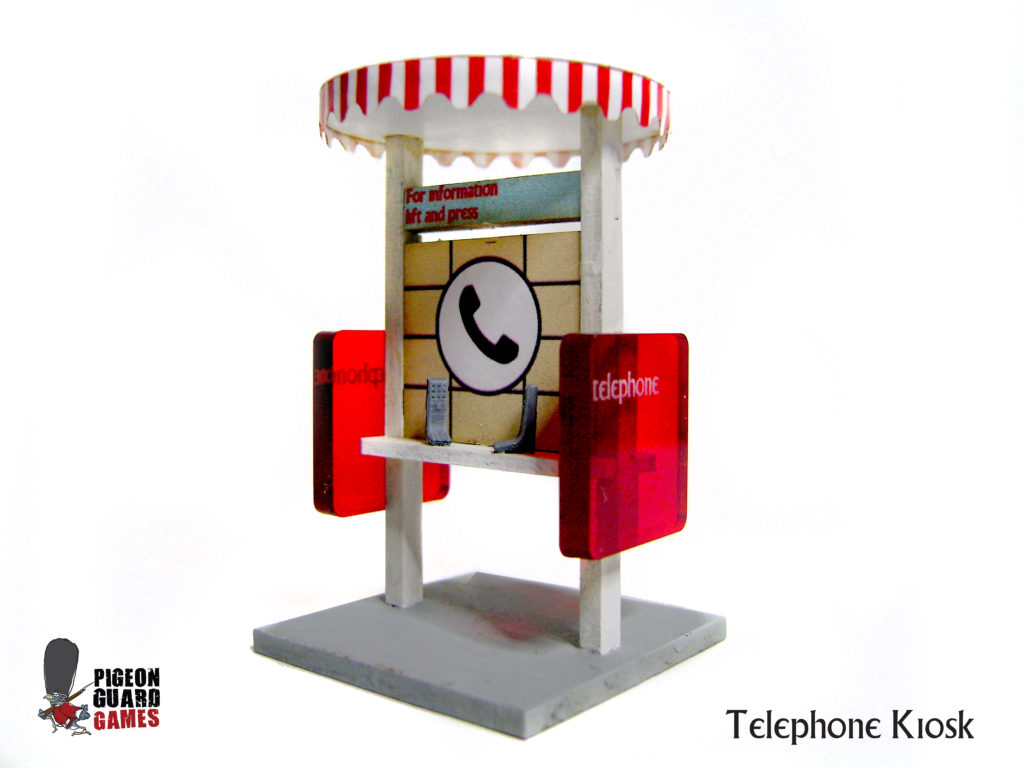
You are new in town, the digital age has yet to happen, so no mobile, and you need to make an urgent call. Then head over to the Telephone Kiosk, pick up the high tech cordless phone and press for information, but remember……….local calls only!
This mixed media kit will enable you to add some attractive street furniture to your spy- fi layout, As part of the kit you get an additional logo backboard option free, so you can make one of two styles of Phone Kiosk.
Buy it now
Telephone Kiosk £5.99
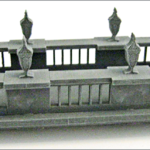
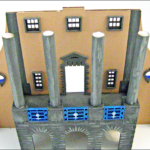
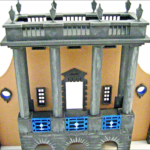
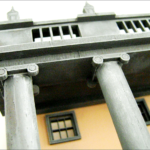
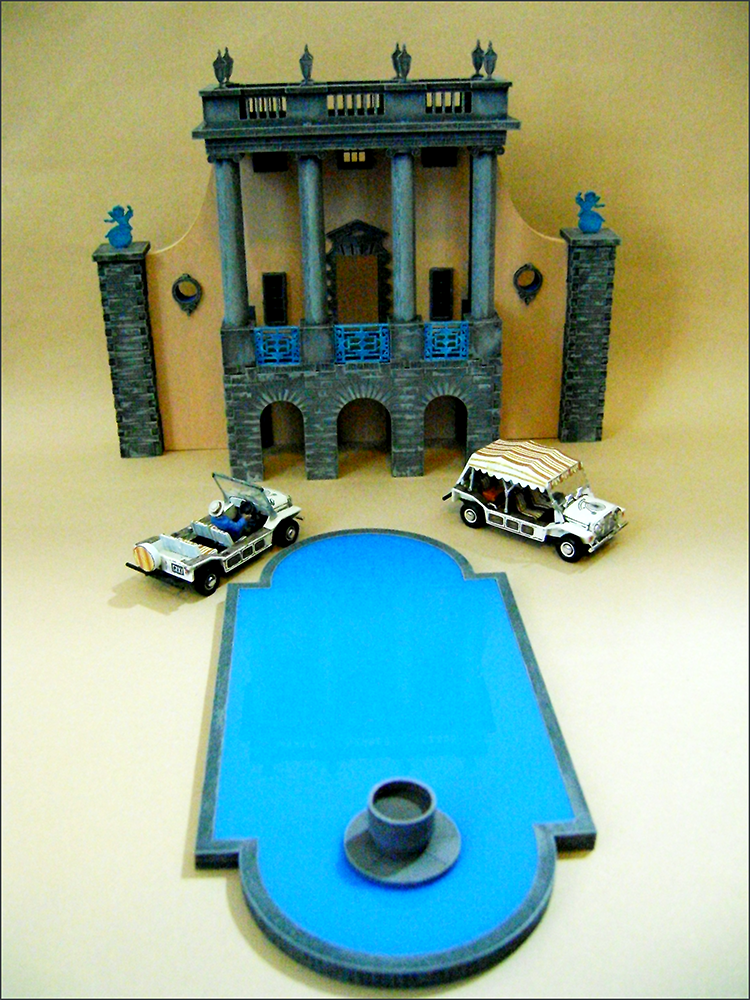
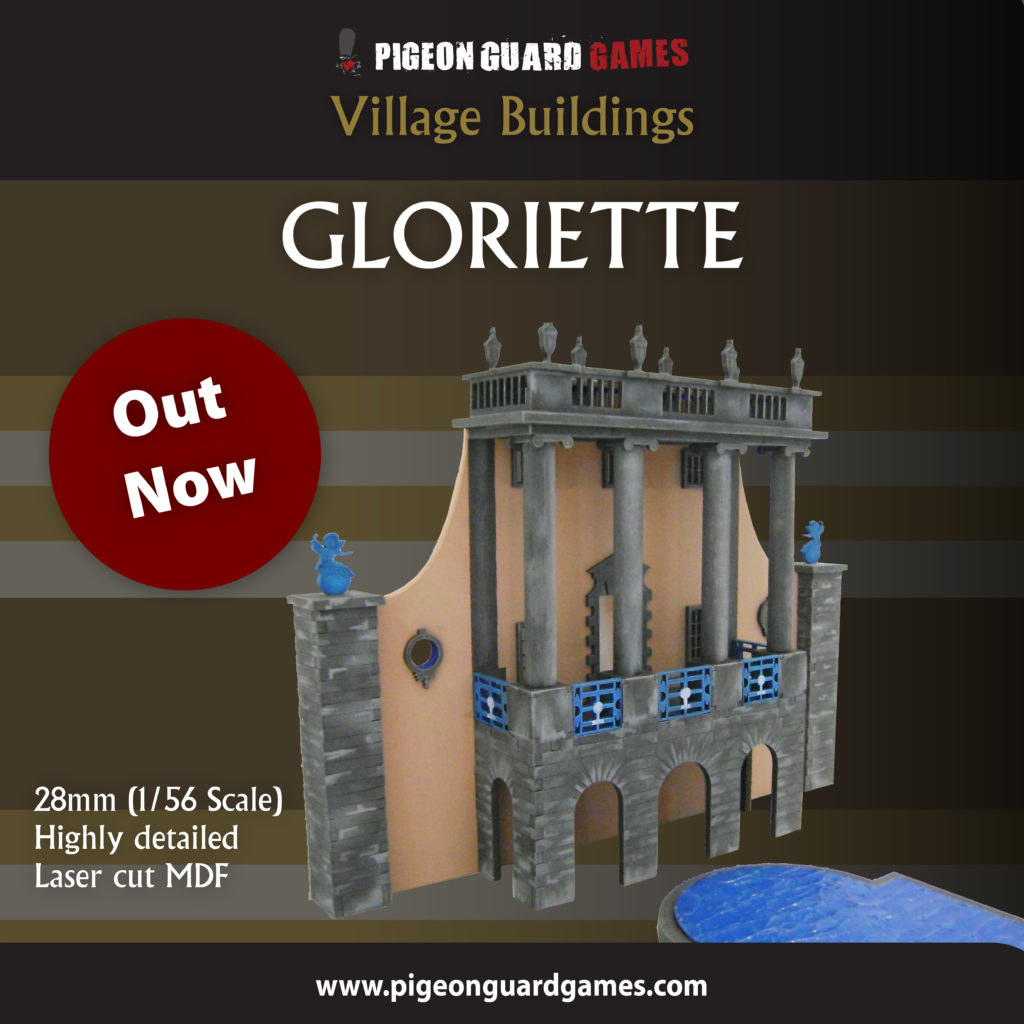
Gloriette is here
News article
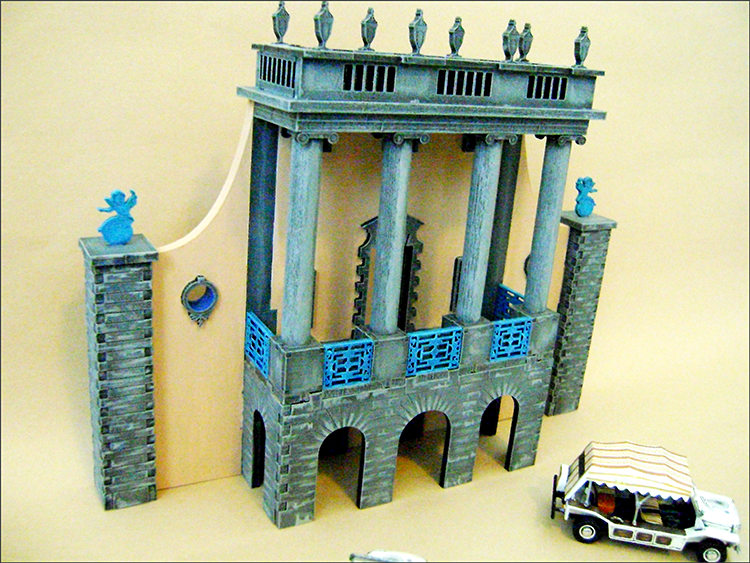
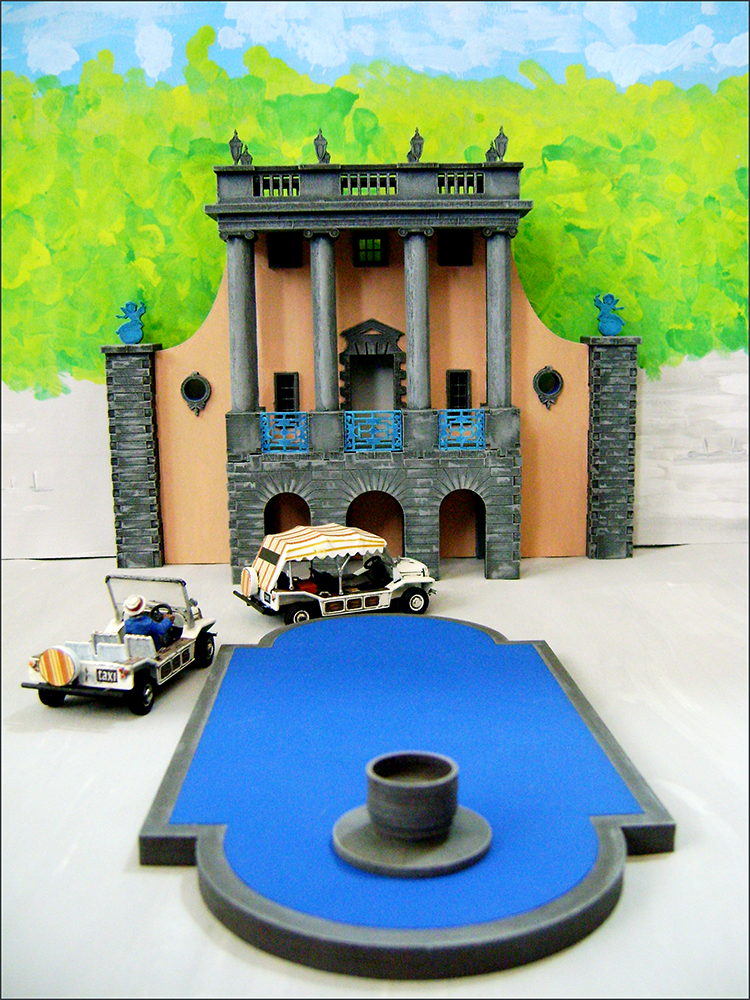
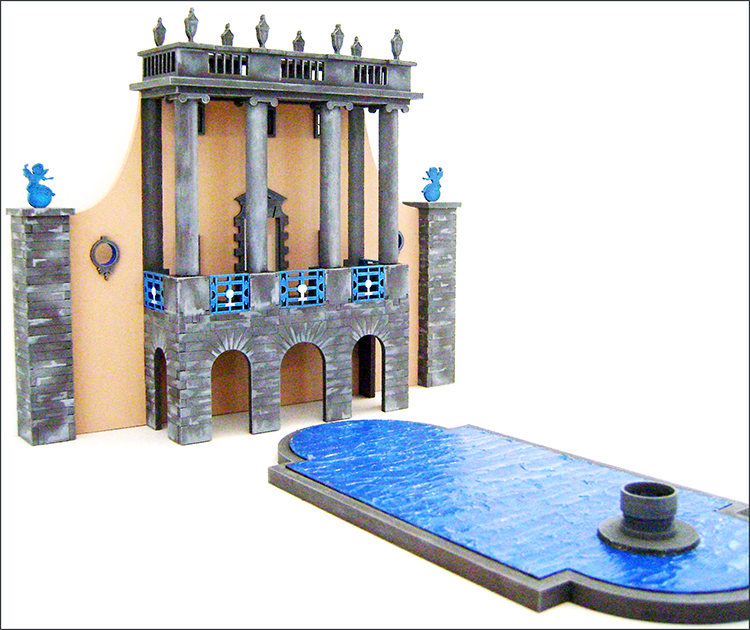
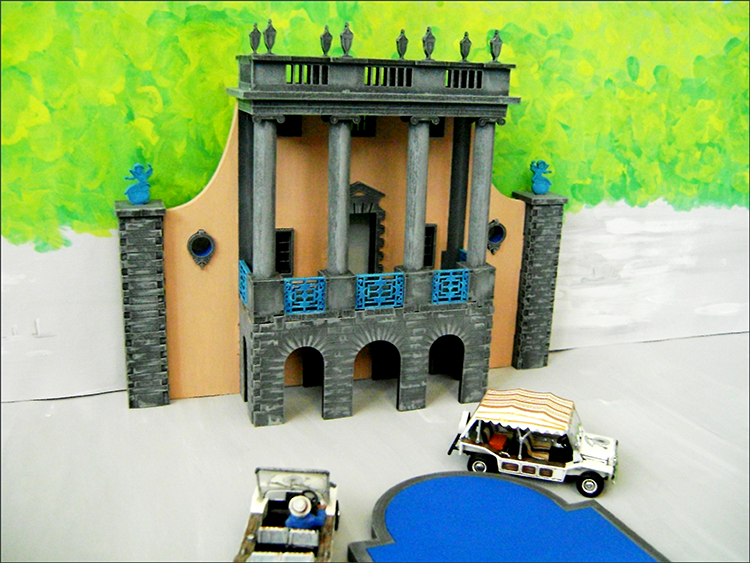
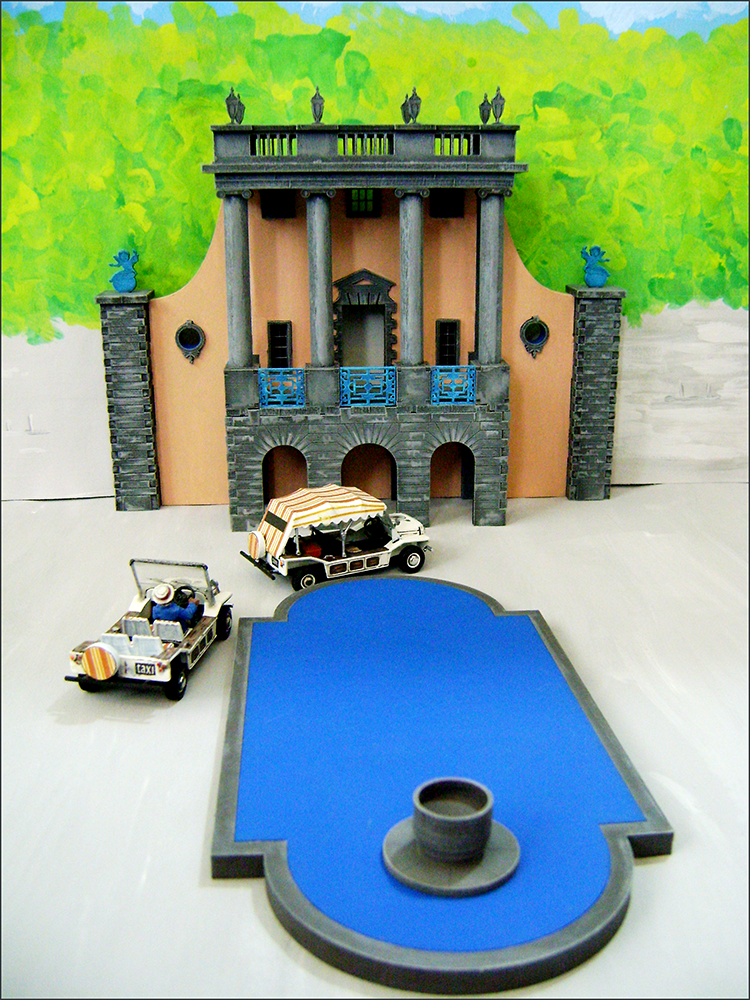
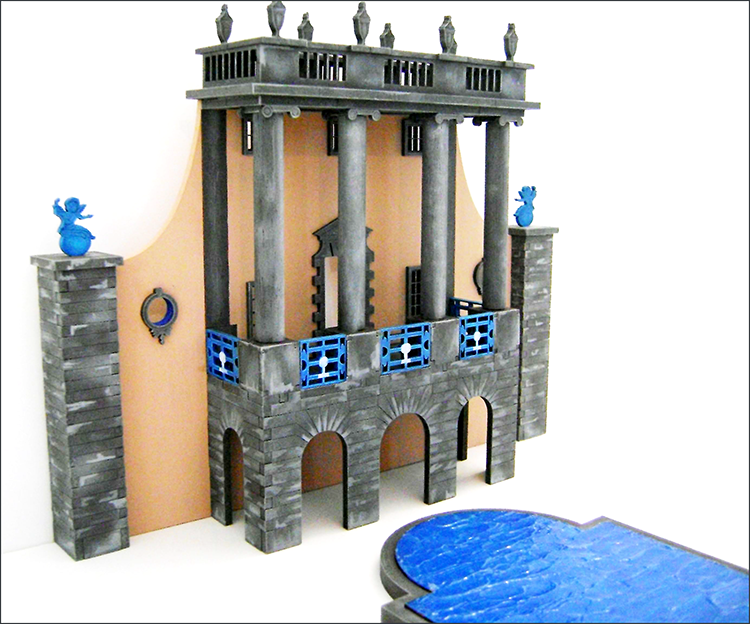
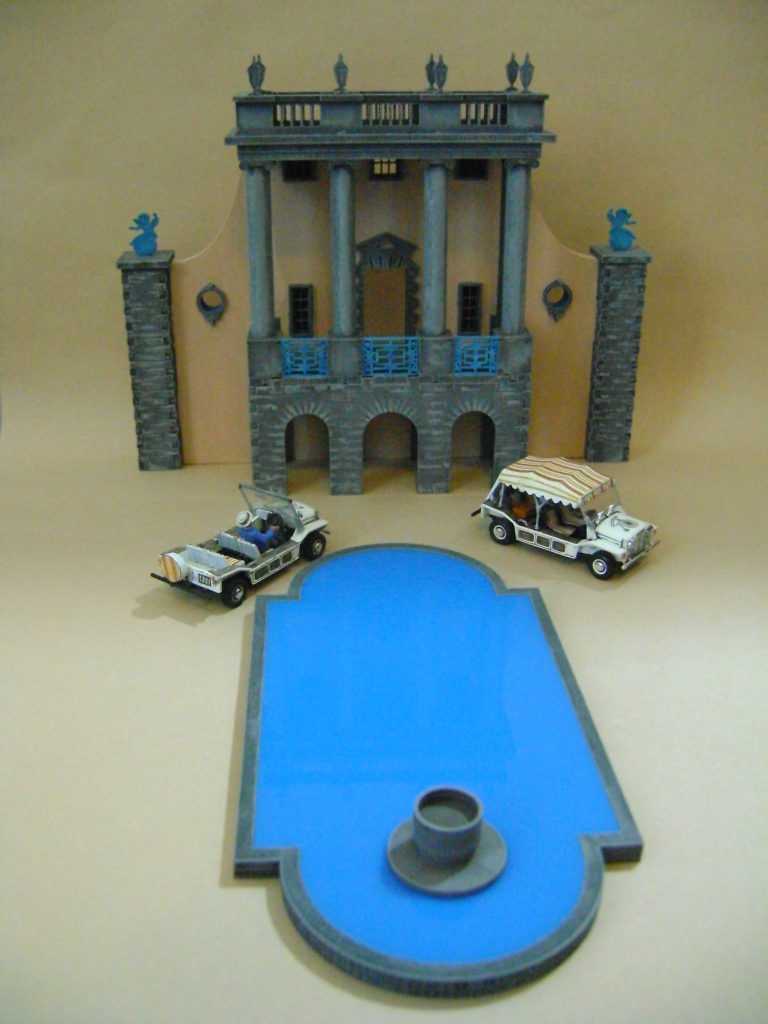
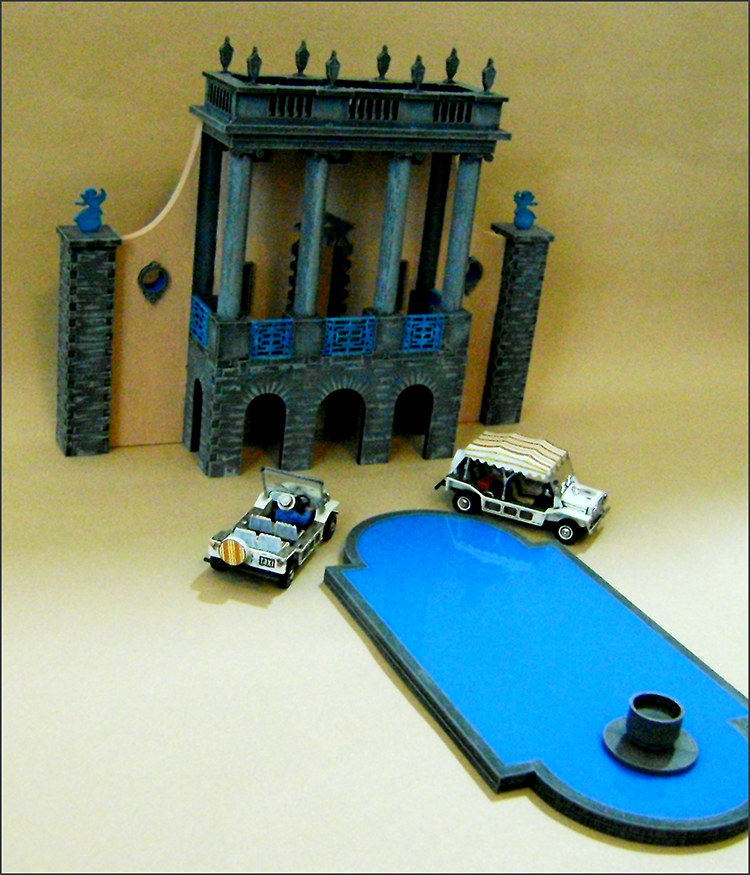
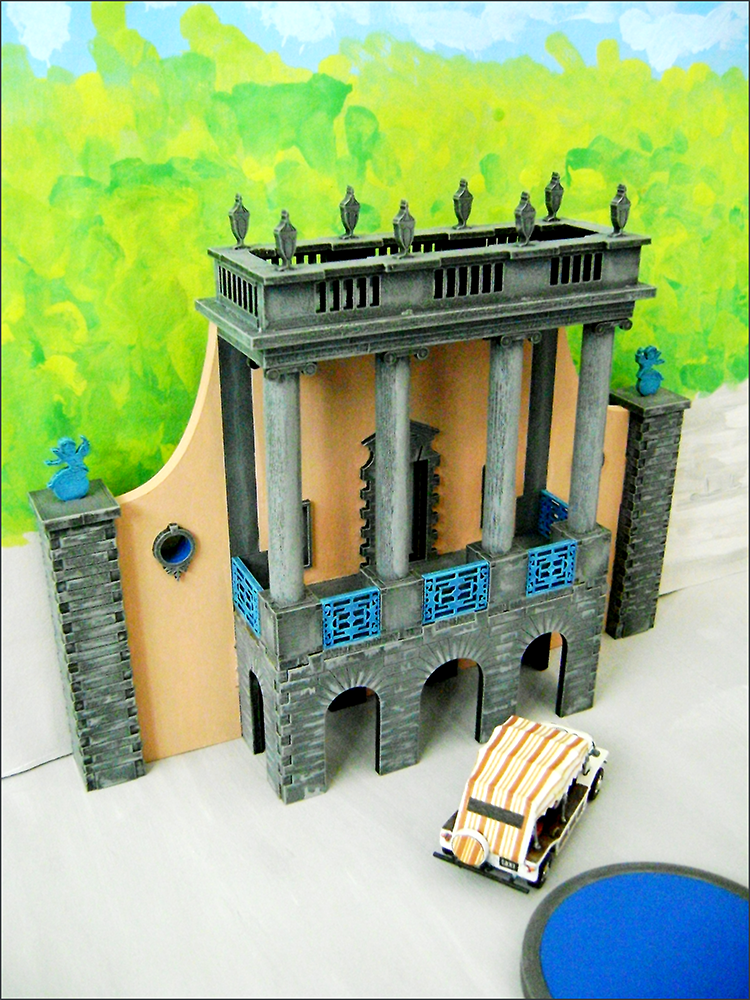
Pigeon Guard Games would like to announce the first release in their new “Village Buildings” range, “The Gloriette”
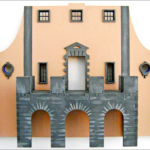
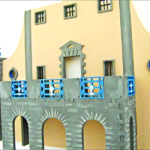
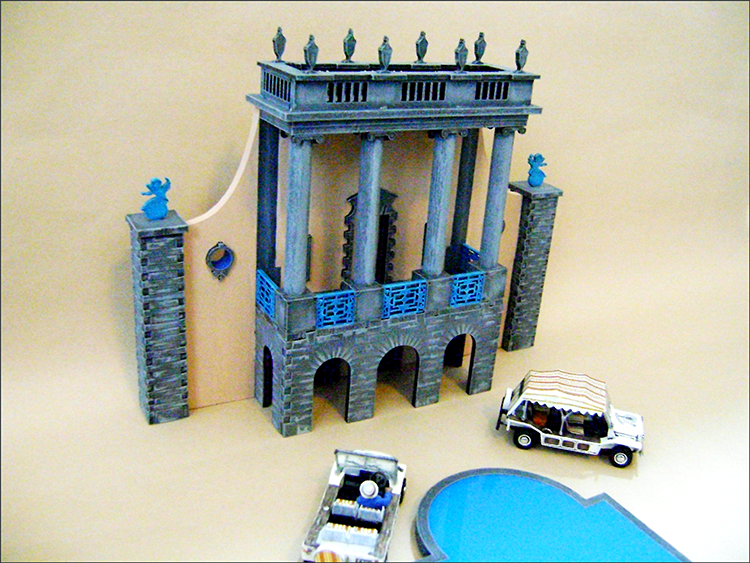
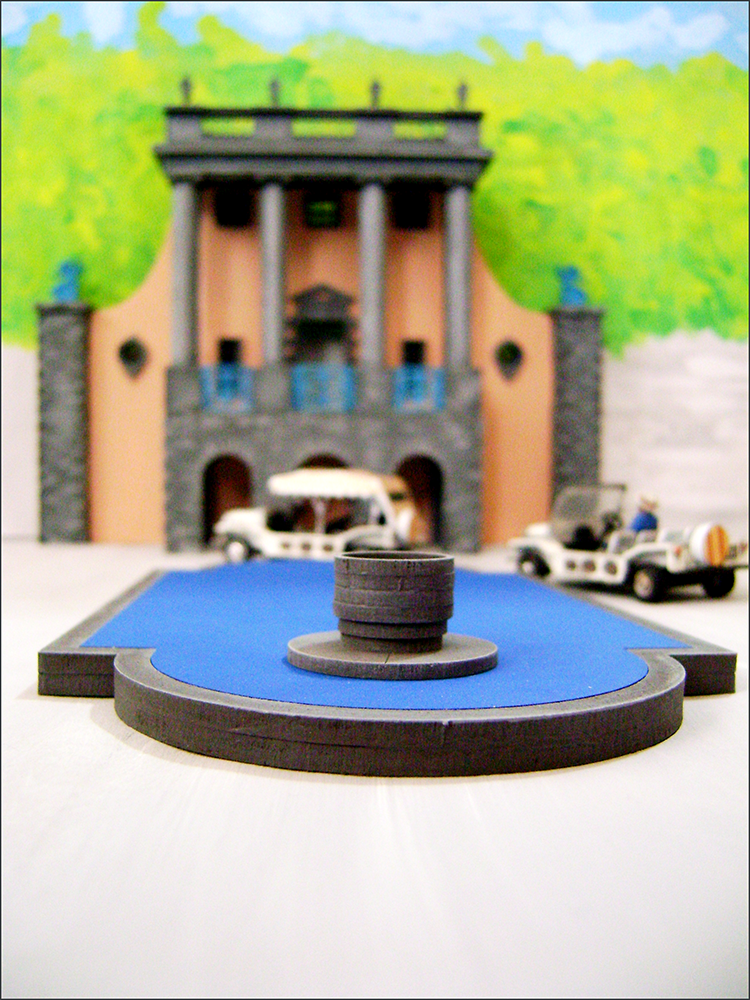
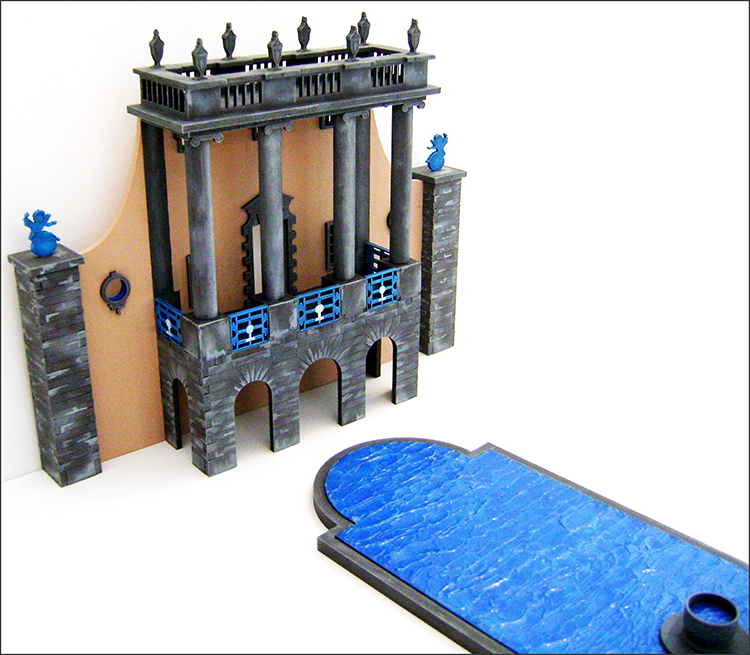
This 28mm version is based on the original folly of the same name in Portmeirion.
This MDF kit also includes the pond and fountain, which help form “The Piazza”.
Please visit https://pigeonguardgames.com for more information!
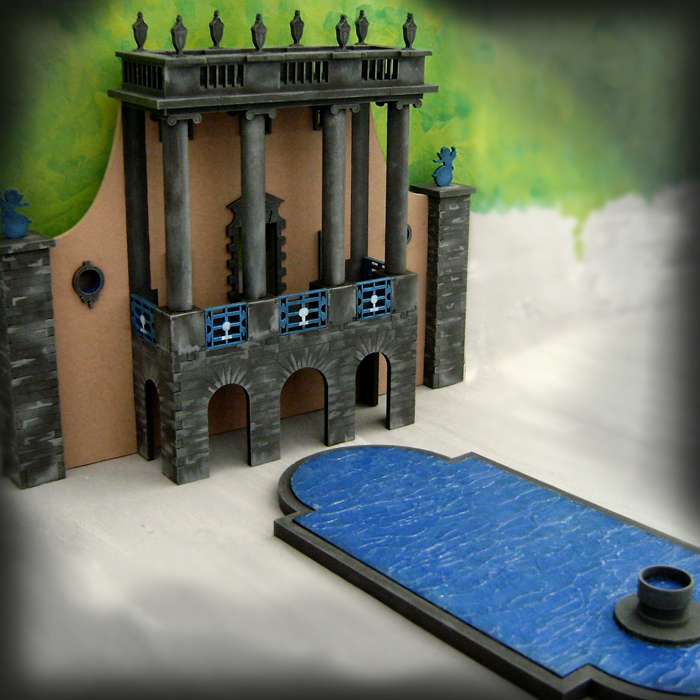
The Pond Water
*In its wet state this is a white paste, put a thin layer on using something like a wooden lolly stick as a small spatula, spread it around and make ripple effects with the stick, when you have with the effect, leave to dry, this normal takes 24 hours, it will dry to a clear finish.
There are plenty of tutuorials available online (Youtube) to show you how this is done.
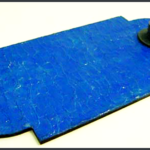
The picture shows the Gel after it has dried.
Assembling the Gloriette
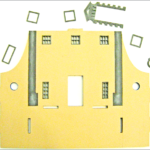
1&2. Start by adding window and door frames to the main wall attach using reduced water PVA glue.
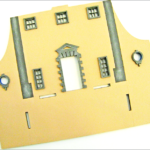
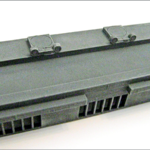
3.Glue Lower Balcony to main wall
4.Add Cherubs to top of side pillars, be sure to check that they are in correct postion relative to the wall slots.
5.Add side pillars to main wall, allow glue to dry for a few minutes.
6. Railings, start by dry fitting these parts. Due to the ayers of paint and glue on both the pillar bases and the railins themselves you will very likely need to file down the railing edges where they meet the pillar bases, do not be tempted to force them in as they are fragile and will break.
Fitting them is trial and error with a file until they fit easily, once they do glue them into place.
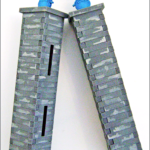
7. Glue pillar scrolls to rear of the upper balcony only at this stage.
8.Attach top part with finials to the upper balcony base balustrade
9. Glue on the four pillars to their bases on the lower balcony
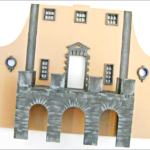
10. After adding some glue to the top of the Pillars, attach the complete Upper Balcony to the main wall and locate the pillarsinto their place, each one may need to be moved by hand until correct.
11. Glue on remaining scrolls to top front of Pillar base
12. Complete!
Painting the Gloriette Part 2
Phase 2 Dry Brushing
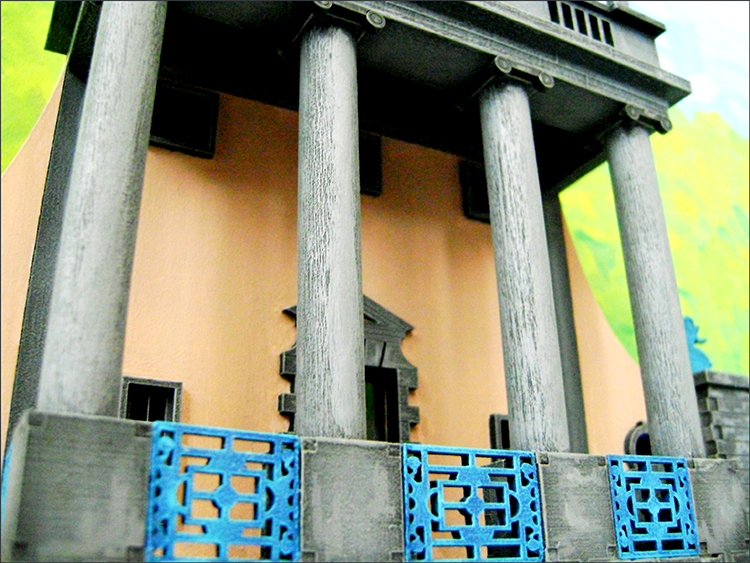
Weathering/dry brushing is often a matter of personal taste, there are no wrong or right ways to do this. Many model makers use quite a large number of highlighting layers gradually lightening the base colour, or blending different shades of same colour to reach the desired effect.
We are going to keep it fairly simple for the purposes of this tutorial.
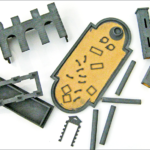
1. Lighten the base coat slightly with a cream or white paintand dry brush over all the grey parts
2. Detail
3. Highlight the centre of the fake pillar and window frames
4. Using an aqua marine or very light blue colour highlight the Blue parts to replicate the originals patina.
5. The original railings have a white mermaid motif in the centre, which is fairly detailed at this scale and difficult to replicate,
However one of getting around this problem is to paint a little white area at the centre of the railing, this is of course optional.
6. Lightening the grey further, you can dry brush another layer paying particular attention to edges and you also attempt to pick out the brick work like we have done here for extra effect.
7. Go over all the remaining grey parts again focusing on edges and front of pillars.
8. Close up
9. Close Up
Painting the Gloriette Part 1
1 Before you paint your model it is advisable to prime or seal the mdf the parts, we have used a little watered down PVA glue, something like a 50/50 mix.
This will stop the mdf soaking up the paint as it is a very porus material. use only a very thin coat of PVA especially on the detailed etched parts. Once this has dried you can now begin to apply the paint.
Painting the Gloriette
We recommend the use of acylic paint from craft shops to do this.
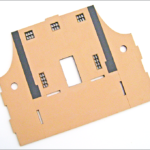
2. Paint the main wall of the Gloriette is a peach colour, we mixed ours from various colours after studying photos of the original building. You may find that it takes two coats of paint to completely cover the mdf, allow first coat to dry before applying the second.
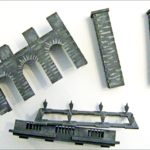
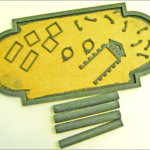
3. Paint all these parts in darker shade of grey.
4. Paint in the fake pillars and window frames, use water to correct any errors, or go over problems later with the peach paint.
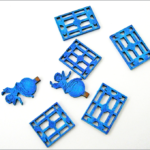
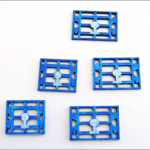
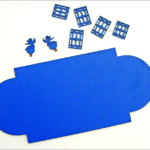
5. Paint all these parts a dark blue. Being careful not to apply paint to thickly to detailed etched areas.
Gloriette Gallery
Vehicles and miniatures not included
